How to make a PDF accessible: a step-by-step guide
Make a PDF accessible from start to finish: fix the source file, export with tags, then check and fix tags, reading order, alt text, tables and forms.
Last updated
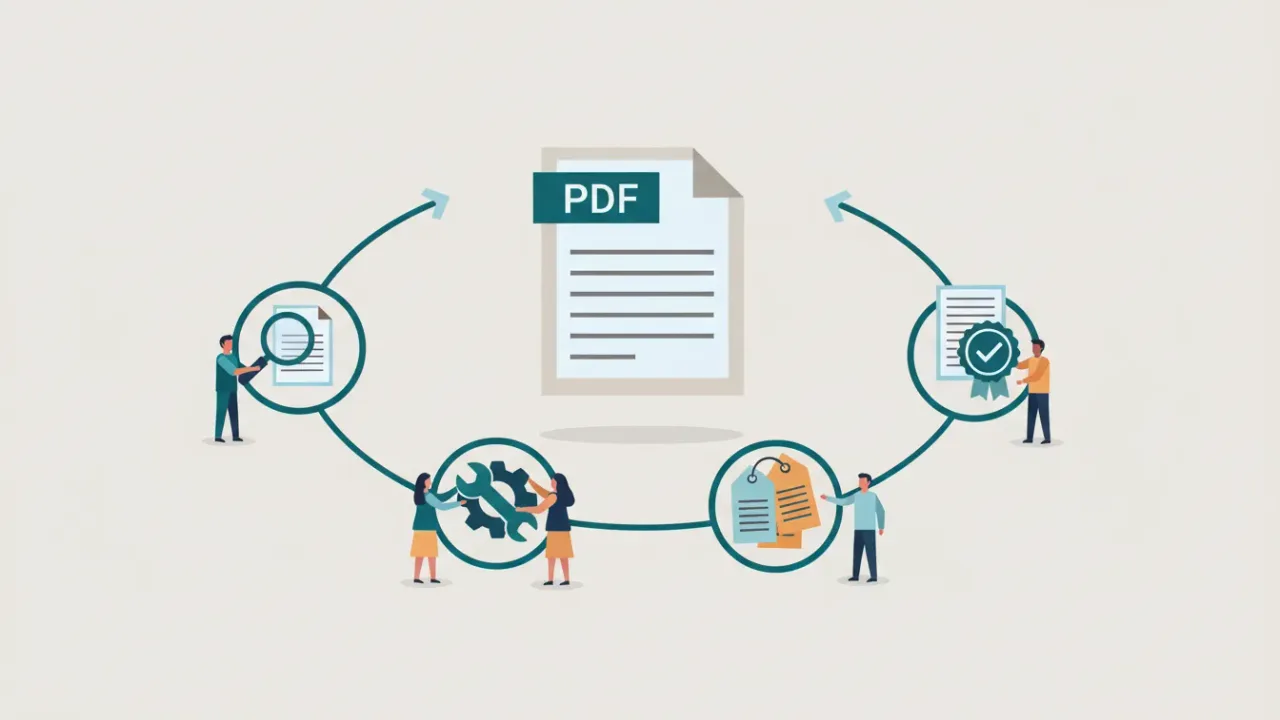
To make a PDF accessible, start with the source file if you have it: use real headings, lists, table headers and alt text, then export a tagged PDF. Next, check the PDF and fix what the export missed: tags, reading order, alt text, tables, forms, the title and language, and bookmarks. Re-check with Acrobat's checker and PAC, then do the human checks no software can do, such as confirming that the reading order makes sense and the alt text is meaningful.
What you'll need
| Tool | What it's for | Cost |
|---|---|---|
| The source app (Word, PowerPoint, InDesign) | Fixing problems where they start | You probably have it |
| Adobe Acrobat Pro | Checking and fixing tags, reading order, alt text, tables and forms | Paid subscription |
| PAC (PDF Accessibility Checker) | Machine checks for PDF/UA and WCAG, with a screen reader preview | Free, Windows only |
| A screen reader | Hearing what people actually hear | Free: NVDA on Windows, VoiceOver on Mac |
| Includoc's free checker | Plain-English results in your browser, mapped to WCAG and PDF/UA | Free |
The free Acrobat Reader can't edit tags. If you don't have Acrobat Pro, fix as much as you can in the source file, and see the automated route at the end of this guide.
Step 1: Fix the source file first
Fixes made in the source file survive every future export. Fixes made in the PDF are lost the next time someone edits the document and exports it again. So start upstream whenever you can.
In Word:
- Use heading styles (Heading 1, Heading 2, Heading 3) in order, rather than bold or large text.
- Use Word's built-in bulleted and numbered lists.
- Give each table a header row, and avoid merged cells.
- Add alt text to every meaningful image, and mark decorative ones as decorative.
- Write link text that says where the link goes.
- Set the title (File > Info > Properties > Title) and the language.
- Run Review > Check Accessibility and fix what it finds.
Then export with File > Save As, choose PDF, select Options, and check Document structure tags for accessibility and Create bookmarks using: Headings. Never use "Print to PDF", which drops the tags. Our Word accessibility checker guide covers each step.
In PowerPoint: give every slide a unique title, check the reading order of objects on each slide, add alt text, and export with tags. See our PowerPoint guide.
In InDesign: map each paragraph style to a PDF tag (for example, your heading style to H1), set the reading order with the Articles panel, add alt text to images in Object Export Options, and export with Create Tagged PDF turned on.
In Google Docs: use the built-in heading styles and alt text, then check the downloaded PDF carefully. See our Google Docs guide.
If all you have is a scan: run OCR first, so there's real text to work with. See scanned PDFs and OCR.
Step 2: Run a full accessibility check
Check the PDF before you change anything, so you know what you're dealing with.
- Acrobat Pro: choose All tools > Prepare for accessibility > Check for accessibility (you may need to select View more to find it; in older versions, it's Tools > Accessibility > Full Check), then select Start Checking. Results appear in the Accessibility Checker panel as Passed, Failed or Needs manual check. Two rules always need a person: Logical Reading Order – Needs manual check and Color contrast – Needs manual check.
- PAC: a free Windows checker that tests the machine-checkable PDF/UA failure conditions and many WCAG requirements, with a screen reader and structure preview to help with the visual checks.
- Includoc's free checker: explains each issue in plain English and maps it to WCAG 2.1 AA, PDF/UA and the matching Acrobat or PAC message.
It's worth using more than one checker, because each tests a slightly different set of rules.
Step 3: Add or repair the tags
Tags are the hidden structure that tells assistive technology what each piece of content is. If you're new to them, read what is a tagged PDF first.
- If the PDF has no tags, autotag it: All tools > Prepare for accessibility > Automatically tag PDF (older versions: Tools > Accessibility > Autotag Document).
- If it has tags, open the Tags panel and review them before deciding to replace anything. Autotagging can overwrite good work.
- Fix wrong tag types. Right-click a tag, choose Properties and change its type, for example from
PtoH2. - Mark page furniture as artifacts. Running headers and footers, page numbers and decorative lines shouldn't be read aloud. Everything else must be tagged; see content is tagged or artifacted.
Step 4: Fix the reading order
Screen readers follow the order of the tags in the tag tree, not the visual layout. Walk the Tags panel from top to bottom (choose Highlight Content from its options menu to see what each tag covers) and drag tags into the right order.
Watch for these common problems:
- Two columns read straight across instead of down one column and then the next.
- A sidebar or callout that interrupts the middle of a sentence.
- Captions far away from their images or tables.
- Footnotes read in the middle of the text.
For multi-column pages, Acrobat's Reading Order tool helps (All tools > Prepare for accessibility > Fix reading order; in older versions, Tools > Accessibility > Reading Order): it numbers each block on the page, and you can draw boxes around content to retag it. Software can't fully judge whether an order makes sense, which is why Acrobat always asks for a manual reading order check.
Step 5: Headings and bookmarks
- Tag every section heading as
H1toH6. Start withH1and go down one level at a time, without skipping. See appropriate nesting. - Add bookmarks to longer documents so people can jump between sections. In Acrobat, open the Bookmarks panel, choose New Bookmarks From Structure from its options menu, and select your heading tags. Acrobat's checker fails documents of 21 pages or more that have no bookmarks; see bookmarks failed.
Step 6: Add alt text to images
Every image that carries information needs alt text, and every decorative image should be an artifact.
- Find the images. After running Check for accessibility in Acrobat Pro, right-click Figures alternate text in the Accessibility Checker panel and choose Fix. The Set Alternate Text dialog steps through each figure in turn. (In older versions, it's also at Tools > Accessibility > Set Alternate Text.)
- Write alt text that says what the image means in this document. If an image adds nothing, mark it as decorative so it becomes an artifact.
- Or work from the Tags panel. Right-click a
Figuretag, choose Properties, and fill in Alternate Text. - For charts, keep the alt text short and put the full data in a table or the text. See alt text for charts and graphs.
Our alt text guide shows what to write, with examples. Acrobat's related checker messages include figures alternate text, nested alternate text and other elements alternate text.
Step 7: Fix tables
Each table needs Table, TR, TH and TD tags, header cells with a scope (Column or Row), and the same number of cells in every row. In Acrobat Pro, select the table with the Reading Order tool and open the Table Editor to set header cells. Avoid tagging layout grids as tables. Our guide to accessible tables in PDFs covers simple and complex tables.
Step 8: Fix lists and links
- Lists should be tagged
L, with each item anLIholding anLbl(the bullet or number) and anLBody(the text). See list items, Lbl and LBody. - Links need a
Linktag that holds both the visible link text and the clickable link area. Links added after tagging are often left out of the tag tree; see link annotations in Link tag and tagged annotations. - Link text should make sense on its own: "Apply for a building permit", not "click here". Changing visible words in a PDF is awkward, so fix link text in the source file.
Step 9: Make forms usable
If the PDF has fillable fields, each one needs a tooltip (its accessible name), a Form tag and a sensible tab order, and required fields must be marked in words. Our accessible PDF forms guide walks through it, including what to do with older XFA forms.
Step 10: Title, language and other settings
- Title: in File > Properties > Description, enter a real title, such as "Water Quality Report 2026", not "Document1". Then, on the Initial View tab, set Show to Document Title. See title failed.
- Language: in File > Properties > Advanced > Reading Options, set the language. For a passage in another language, set that tag's language in the Tags panel (right-click, Properties). See primary language failed.
- Security: if the file is restricted, make sure the settings still allow screen readers to read the text.
- Fonts: if a checker reports fonts that aren't embedded or text that can't be mapped to characters, re-export from the source rather than patching the PDF. See fonts are embedded and character encoding.
Step 11: Re-check, then do the human checks
Run Acrobat's checker and PAC again until the machine checks pass. Then check what software can't:
- Reading order makes sense. Listen to it or read the tags in order.
- Alt text says what each image means, not just what it shows.
- Color isn't the only signal. Anything shown in color also uses text, labels or patterns.
- Instructions don't rely on shape, size or position, such as "click the round button on the right".
- Link text and headings are descriptive.
- Table headers are the right headers.
- Text in images and charts has enough contrast.
- Passages in another language are marked.
Finally, listen to the document with a screen reader such as NVDA or VoiceOver. Keep a short record of what you checked, when and who checked it. It's useful evidence if anyone asks how your documents meet WCAG 2.1 AA.
The automated route
Fixing a PDF by hand takes practice, and Acrobat Pro takes time to learn. Includoc automates the mechanical work. It builds or repairs the tags, sets a column-aware reading order, fixes heading levels, lists, table structure, links and annotations, form field tags and tab order, and adds the title, language and bookmarks. It also runs OCR on scanned pages. Our AI drafts alt text, table headers and anything else that needs judgment, and you approve each item on a review screen before you download the fixed PDF and a conformance report. Your first 10 pages are free after you sign up, then fixes are $1.50/page on pay as you go.
Some things still need a person: confirming that alt text and reading order are right for your document, and fixing problems that start in the design, such as low contrast. Includoc flags those clearly instead of hiding them.
Upload your PDF to fix this automatically
Free check in seconds. Files are deleted within 24 hours.
Standards
| Standard or tool | Reference |
|---|---|
| WCAG 2.1 | |
| PDF/UA-1 (ISO 14289-1) | Clause 7.1 |
| Acrobat rule | Tagged PDF |
| Standard or tool | Reference |
|---|---|
| WCAG 2.1 | |
| PDF/UA-1 (ISO 14289-1) | Clause 7.2 |
| Matterhorn Protocol | Checkpoint 09-001 |
| Acrobat rule | Logical Reading Order |
| Standard or tool | Reference |
|---|---|
| WCAG 2.1 | |
| PDF/UA-1 (ISO 14289-1) | Clause 7.3 |
| Matterhorn Protocol | Checkpoint 13-004 |
| Acrobat rule | Figures alternate text |
| Standard or tool | Reference |
|---|---|
| WCAG 2.1 |
Sources
- Adobe: Create and verify PDF accessibility (Acrobat Pro) (opens another website)
- Adobe: Reading Order tool (opens another website)
- Adobe: Create accessible PDFs in InDesign (opens another website)
- Microsoft: Create accessible PDFs (opens another website)
- W3C: PDF Techniques for WCAG (opens another website)
- W3C: Web Content Accessibility Guidelines (WCAG) 2.1 (opens another website)
- ISO: ISO 14289-1:2014, PDF/UA-1 (opens another website)
- ADA.gov: Fact sheet on the ADA Title II web and mobile accessibility rule (opens another website)
Related
- What is a tagged PDF? Tags, the tag tree and how to check them
A tagged PDF has hidden structure that tells screen readers what each part is. Learn the common tags, artifacts, role maps and how to view and fix tags.
- Accessible PDF documents: what they are and how to check one
What makes a PDF accessible, how an accessible PDF differs from a regular one, and quick ways to tell whether any PDF is accessible.
- How to write alt text: a practical guide with examples
Write alt text that says what an image means, not just what it shows: decorative images, logos, signatures, charts and text in images, with examples.
- Accessible tables in PDFs: header cells, scope and complex tables
How to tag tables in a PDF so screen readers can follow them: TH cells, scope, Headers and IDs for complex tables, and fixes in Word and Acrobat.
- Accessible PDF forms: field labels, tab order, tags and XFA
Make fillable PDF forms work with keyboards and screen readers: field tooltips, tab order, Form tags, required fields, error messages and the XFA trap.
- Logical Reading Order – Needs manual check
Why Acrobat always says “Logical Reading Order – Needs manual check”, how to check reading order yourself, and how to fix tags that are out of order.